Last Updated on December 13, 2025 by Wahid
Ceiling fixtures can be fitted with fluorescent lights for illumination. An acrylic or plastic diffuser reflects the light evenly throughout the room. For the best light, diffusers need to be replaced over time if they become brittle or yellow.
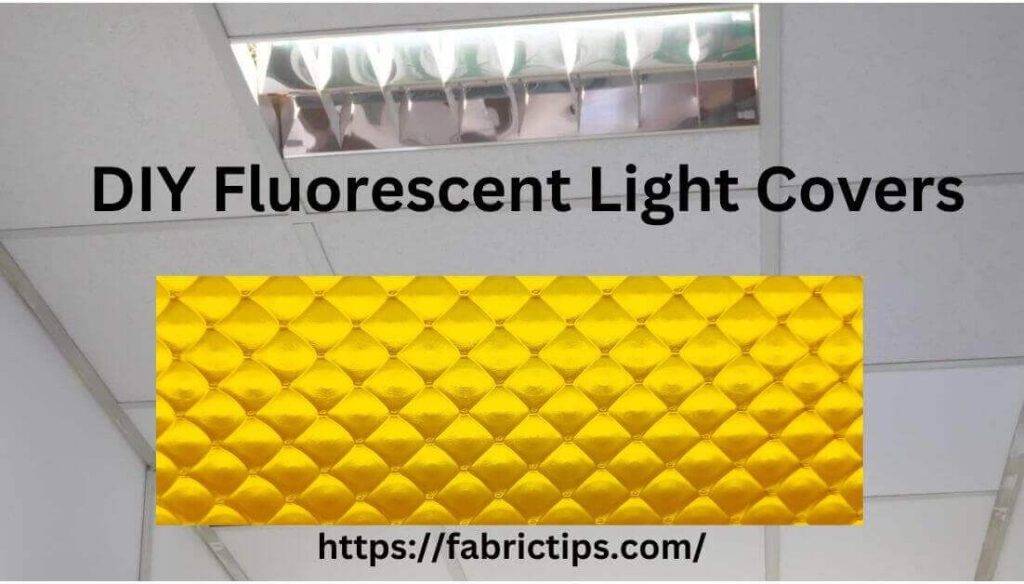
Are you worried about how you can make DIY Fluorescent Light Covers? Lighting with fluorescent tubes is a popular choice in both households & businesses. Instead of the incandescent bulb, a fluorescent bulb produces more light with the same power as a 60-watt filament bulb. These high-efficiency fixtures, however, can sometimes be unsightly.
Occasionally, the panels break when they are removed for cleaning. Fortunately, they can be easily replaced. The panels can be decorated with acrylic paint to create custom designs. Well, let’s discover below how to do it.
Warnings & Precautions
- If you have ever replaced such a bulb, then you already know this. Holding them carelessly can cause them to crack.
- Due to their infrequent use, night lamps pose a low risk of UV exposure; however, UV exposure precautions are still recommended.
- Prevent UV exposure to the hands by wearing UV-protectant gloves and applying sunscreen before using.
- In addition to harming your eyesight, fluorescent bulbs emit UV radiation when not properly covered.
- You might not have considered the risks associated with fluorescent bulbs shattering due to their fragility. Therefore, fluorescent light covers are essential.
- Your eyes and skin are protected from UV rays and glare by fluorescent light covers.
- However, it will also protect you from tiny glass shreds, if the fluorescent light breaks.
Fluorescent Light Covers At Home: How To Do It
The Following Materials Are Required:
- Table cloth
- Binder clips
- Rod kit for curtains
- Tape measure
- Ladder (optional)
- Saw (optional)
- Acrylic paints (optional)
- Washable markers (optional)
- Brushes (optional)
Method 01
“Covering Fluorescent Lights With Fabric”
There’s a lot of work involved, but it’s worth the effort.
Step 01:
- Measurements should be taken first.
- Layouts should then be created.
- Then, screw the cleats into place and secure them with drywall screws to add extra strength.
- This needs to be done at 4 locations, thus do the other 3 the same way.
- Although those drywall anchors are up to you, I suggest you use them.
Step 02:
- Rods must be threaded into the cleats you have placed.
- Having ensured it’s secure, add the finishing hardware to the cleat.
- Then attach the cable to the rod’s attachment point, securing the line with an Allen screw.
- Repeat the process at the other 3 locations as well.
Step 03:
- In the next step, remove the cable & any coupling hardware from the unthreaded position completely.
- Next, plug in the cable.
Step 04:
- The coupling hardware should be turned to ensure no slack is present.
- A tighter cable will result from this.
Step 05:
- Once both are tight and secure, fluorescent lights can be covered with the fabric of your choice.
- Binder clips are useful for holding your materials.
- Please be informed you can pick any texture, color, pattern, or material type that you like. A specific type isn’t necessary.
- To be sure, when it comes to covering fluorescent lamps, sheer fabrics are the right choice.
- To create a cozy, warm atmosphere, select primary colors such as yellow, blue, and green.
- Fluorescent lights can be covered in other ways than just with fabric.
Method 02
“Several Alternative Ways of Covering Fluorescent Light”
Alternative 1:
“Using Diffusers, Cover Fluorescent Lights”
- Diffusers are the best way to cover fluorescent lights.
- Light is diffused and scattered by an opaque sheet suspended under the light, resulting in a soft glow.
- While allowing the light to pass through, the diffuser also hides it.
- In some cases, diffusers are mounted on the ceiling & serve as lampshades or ceiling lights.
Alternative 2:
“For Cover Fluorescent Lights, Use Reflectors”
- In some ways, reflectors function as suspended diffusers.
- Light is reflected from the ceiling rather than filtered through diffusers.
- Unlike diffusers, reflectors are attached above the fixture.
- Your choice is between a diffuser and a mirror.
- The diffuser can also be made from fabric, wood, glass, or a solid metal piece hung from chains.
Alternative 3:
“Put Rice Paper Over Fluorescent Lights”
- As a lamp shade, rice paper can also be used to shade fluorescent lights.
- Nevertheless, rice paper covers work temporarily for fluorescent lights.
- Firstly, make a frame for covering the fixture using wood and wire.
- Place rice paper over the edge, then affix it.
- The fixture itself or the ceiling can be attached to it.
- You can choose which best meets your needs and serves you best.
Rather than using a diffuser, experts recommend drapes made of rice paper because they offer more flexibility. In contrast, diffusers cover light only from below, whereas rice paper can be used anywhere you want.
Alternative 4:
“Using LightBox”
- In a lightbox, light can pass through various directions due to the translucent materials used.
- Lightboxes like these date back to the 1980s, so they are quite old. The boxes were familiar back then, mostly in kitchens.
- Nowadays, lighting boxes come in lightweight, sleek designs.
- Shapes and colors are both important to them.
- Lightboxes will shield your room from fluorescent light and enhance its aesthetics.
Alternative 5:
“Soffits”
- Fluorescent lights are most commonly covered by soffits.
- Floating soffits are ledges that serve as dropped portions of ceilings to support fluorescent lighting.
- To create a high light along the ceiling’s border, you can build this soffit after you finish building your house.
- The location and design of your soffits depend on your preference.
- Soffits are typically made from wood or drywall.
- Temporary solutions using soffits, plastic, wooden, or metal frames can also be used.
Alternative 6:
“Lighting Alternatives”
- In this method, fluorescent lights are not used at all.
- To replace fluorescent lights, install floor mats, and hanging lamps for enough lighting & a decorative appearance.
- According to the size of your room, you may need 2 or 3 lights.
FAQs
Covering fluorescent lights: what is the best material?
In today’s modern world, fluorescent light covers are commonly used to conceal fluorescent light’s harsh glow. The majority of fixtures have them. Light fixture covers made of plastic are available in a variety of styles. Most light fixture covers are prismatic or frosted.
Can you cover fluorescent lights with fabric?
To make the covers draping, use tacks to keep them in place, preventing them from being burned by excessive heat. Put a different color sheet over every fixture, or make them all a similar color for a particular lighting effect.
Do fluorescent lights need a cover?
The protective plates on all light fixtures should be removable, regardless of whether fluorescent bulbs are used. When light fixtures are at risk of being damaged, they should be protected by strong barriers that prevent them from shattering.
How do you modernize a fluorescent light fixture?
Light Fixture Removing Process :
Step 1: Disconnect the power.
Step 2: Dispose of the light bulbs and plastic shade.
Step 3: Remove the Metal Panel.
Step 4: Cut the wires on the old fixture.
Step 5: Remove fixture boxes from the ceiling.
Step 6: Fill in holes and paint the area.
Are LED tubes compatible with fluorescent fixtures?
The answer is YES! LED linear tubes are simple to install & ballast compatible. It will only take a few minutes to swap out your fluorescent light for a LED light.
How do you make fluorescent lights look warmer?
Sheets of gel media can be inserted between fixture covers and lenses. Paper thin plastic gel media is infused with color, varying in color and texture. Warmth can be created with amber and sunny yellow colors.
Is it easy to attach the panels to the wall?
They are flexible, so you can install them carefully without worrying. Upon measuring the panels completely, they will be hung smoothly on the grid. With suspended fluorescent light troffers, take out a corner screw from the frame. Using this method, you will be able to easily attach panels to your wall.
Conclusion
This useful guide explains how to create DIY Fluorescent Light Covers accurately. However, I have listed the most cost-effective and useful techniques. The choice is yours, which will serve you best & provide the most effective results.