Last Updated on December 13, 2025 by Wahid
Tired of harsh chemical air fresheners that leave your home smelling artificial & potentially irritating? We’ve all been there. But what if you could create a welcoming and inviting atmosphere using natural ingredients that are not only pleasant-smelling but potentially beneficial for your well-being?
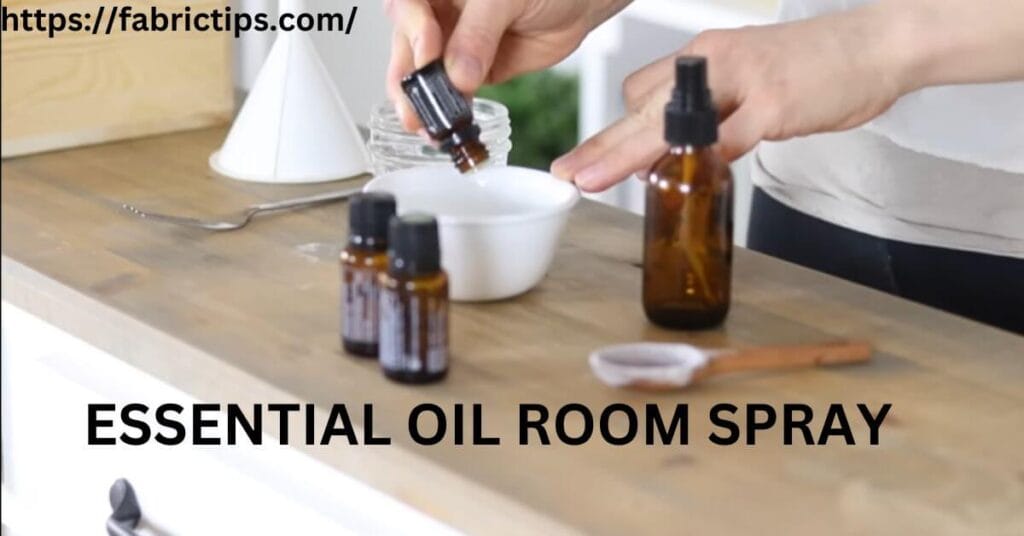
Enter the wonderful world of DIY essential oil room spray! These customizable concoctions allow you to ditch the synthetic fragrances and craft your own signature home scent. Made with natural essential oils, these sprays offer a safe and effective way to freshen up your living space while potentially reaping the therapeutic benefits of aromatherapy. So, ready to ditch the chemicals & embrace the power of nature’s scents? Let’s dive into the world of how to make DIY essential oil room sprays!
Ingredients Needed for Your DIY Room Spray Symphony

Crafting your perfect room spraywith essential oil room spray is like composing a symphony of scents. To achieve this olfactory masterpiece, you’ll need a few key ingredients:
- Distilled Water: Think of distilled water as the base note in your fragrant creation. It serves as the carrier for your essential oils and ensures smooth distribution when you spritz your masterpiece around the room. But why distilled water? Regular tap water can contain minerals that can clog the spray nozzle & potentially cloud the solution over time. Distilled water, free of these impurities, ensures a smooth-functioning and long-lasting spray.
- Essential Oils: These are the stars of the show! Essential oils, extracted from the leaves, flowers, or other parts of plants, boast a concentrated and potent fragrance. With a vast array of essential oils available, each offering unique therapeutic properties & scents, the possibilities for creating your signature room spray are endless!
- Popular Room Spray Choices:
- Lavender: Known for its calming and relaxing properties, lavender is a perfect choice for creating a peaceful atmosphere.
- Lemon: This uplifting and refreshing citrus oil adds a burst of sunshine to any room.
- Lemongrass: Lemongrass offers a clean and invigorating scent, ideal for eliminating lingering odors.
- Popular Room Spray Choices:
- These are just a few suggestions, and the world of essential oils is vast! Explore options like peppermint for an energy boost, eucalyptus for a clear and crisp scent, or even tea tree for its purifying properties. Consider the mood you want to create and choose essential oils that complement each other for a harmonious fragrance blend.
- Carrier (Optional): While essential oils are incredibly potent, they can be quite concentrated and potentially irritating to the skin if used undiluted. This is where carrier oils or agents come in. These help dilute the essential oils and promote even distribution throughout the water base. Common carrier options include:
- Witch Hazel: A natural astringent, witch hazel offers a gentle & alcohol-free option for diluting your essential oils.
- Vodka: A popular choice due to its quick evaporation and lack of residue, vodka effectively dilutes essential oils. Keep in mind the slight alcohol scent, which may dissipate upon drying.
Hence, choosing a carrier is optional, but it’s recommended for those with sensitive skin or who prefer a gentler dilution method. Now that you have your ingredients assembled, let’s get mixing and create your signature room spray.
Assemble Your DIY Room Spray Arsenal

With your knowledge of the key ingredients, it’s time to gather your tools and create your fragrant masterpiece. Here’s what you’ll need:
- Distilled Water: Aim for a 4-ounce (120ml) glass spray bottle. Distilled water ensures a smooth-functioning spray & avoids clogging.
- Essential Oils: The magic lies in these concentrated plant extracts! Choose your favorites based on desired scent & therapeutic properties. A good starting point is 10-20 drops total, but adjust based on your preference (stronger or milder).
- Popular Room Spray Choices:
- Lavender (calming)
- Lemon (uplifting)
- Lemongrass (invigorating)
- Peppermint (energizing)
- Eucalyptus (clear and crisp)
- Tea Tree (purifying)
- Popular Room Spray Choices:
- Carrier (Optional): If using a carrier like witch hazel or vodka for dilution, you’ll need approximately 1 tablespoon (15ml).
- Glass Spray Bottle: Opt for a 4-ounce (120ml) reusable glass spray bottle. Glass is ideal as it won’t degrade over time and is easier to keep clean and free of lingering odors.
- Funnel (Optional): A funnel can be helpful for transferring the ingredients into the spray bottle, especially when using essential oils.
- Labels: Labeling your spray is crucial, especially if you plan on making multiple variations. Include the ingredients list and the date of creation for your reference.
However, now that you have your arsenal assembled, we’ll delve into the step-by-step process of creating your signature room spray.
Conquering Common DIY Room Spray Questions
Creating your own room spray is a fun and rewarding experience, but along the way, some questions might arise. Let’s tackle some common ones:
Witch Hazel vs. Vodka: Diluting Duo?
Both witch hazel and vodka act as carriers in your DIY room spray. Their primary function is to dilute the essential oils, making them less concentrated & safer for use around the home. They also help disperse the scent more evenly when you spray.
- Witch Hazel: This natural astringent is a gentle option for diluting essential oils. It’s generally considered kinder to the skin than harsher alternatives.
- Vodka: A popular choice due to its quick evaporation, vodka leaves no oily residue behind. However, keep in mind the slight alcohol scent, which usually dissipates upon drying.
Ultimately, the choice between witch hazel and vodka depends on your preference. For a gentler touch, witch hazel is ideal. If a quicker evaporating carrier is desired, vodka might be the better option.
Distilled Water: The Essential?
While tempting to grab the nearest tap water, distilled water is the recommended choice for your room spray recipe. Here’s why we use essential oil room spray:
- Mineral Buildup Blues: Tap water can contain minerals that can clog the spray nozzle over time, hindering the smooth operation of your spray bottle.
- Shelf Life Shuffle: Minerals in tap water can also potentially affect the shelf life of your room spray. Distilled water ensures a longer-lasting fragrant friend.
- Distilled Delight: Distilled water is free of impurities, ensuring a clean and clear base for your essential oil symphony.
Can I Use Rubbing Alcohol to Make a Homemade Room Spray?
While rubbing alcohol can technically be used as a carrier, it’s generally not recommended. The strong alcohol scent can overpower the essential oils, and rubbing alcohol can be quite drying to the skin. Witch hazel or vodka offer gentler & more pleasant alternatives.
How Long Does the Fragrance Last?
The shelf life of your DIY room spray can vary depending on the ingredients used. In general, expect your homemade concoction to stay fragrant for 2-3 months when stored properly. Here are some tips for maximizing shelf life:
Store in a cool, dark place: Light and heat can degrade essential oils over time.
Keep it sealed tight: Minimize exposure to air to prevent evaporation and potential contamination.
Label it with the creation date: This helps you keep track of how long your spray has been around.
Ultimately, by following these simple tips, you can enjoy your homemade room spray for months to come!
Why Alcohol Makes a Splash in DIY Room Sprays
While not mandatory, including alcohol (witch hazel or vodka) in your DIY room spray recipe offers some key benefits:
- Dispersal Duo: Essential oils are naturally hydrophobic, meaning they don’t mix well with water. Alcohol acts as a bridge, allowing the essential oils to disperse evenly throughout the water base. This ensures a consistent and effective spritz of fragrance throughout the room.
- Preservation Powerhouse: A small amount of alcohol can help extend the shelf life of your room spray. It helps inhibit the growth of bacteria and mold, keeping your spray fresher for longer.
- Blending Buddy: As mentioned earlier, essential oils and water don’t naturally hold hands. Alcohol helps bridge this gap, allowing them to blend more effectively and create a smoother consistency for a more pleasant spraying experience.
Hence, while witch hazel is a gentler alternative, both witch hazel and vodka can play a helpful role in creating a long-lasting and effective DIY room spray.
Craft Your Signature Scent: A Detailed DIY Room Spray Recipe
Now that you’re armed with the knowledge and essential ingredients, let’s embark on creating your very own signature room spray. This recipe offers a basic framework, but feel free to experiment with different essential oil combinations to find your perfect fragrant harmony.
Ingredients:
- 4 ounces (120ml) distilled water
- 10-20 drops of your chosen essential oil (total)
- 1 tablespoon (15ml) witch hazel or vodka (carrier – optional)
- Glass spray bottle (4 ounces/120ml)
- Funnel (optional)
- Label
Essential Oil Suggestions (Choose one or combine a few for a unique blend):
- Lavender (calming) – 5-10 drops
- Lemon (uplifting) – 5-10 drops
- Lemongrass (invigorating) – 3-5 drops (due to stronger scent)
- Peppermint (energizing) – 3-5 drops (due to stronger scent)
- Eucalyptus (clear and crisp) – 3-5 drops (due to stronger scent)
- Tea Tree (purifying) – 3-5 drops (due to stronger scent)
Instructions:
- Gather your fragrant warriors: Assemble all your ingredients – the distilled water, essential oils, carrier (if using), spray bottle, funnel (optional), and label.
- Essential Oil Symphony: If using a carrier like witch hazel or vodka, add it to the empty spray bottle first. Then, add your chosen essential oils. Start with fewer drops (around 10) and adjust to your preference. Remember, you can always add more, but subtracting is trickier!
- Water Wonder: Using the funnel (optional), carefully pour the distilled water into the spray bottle containing the essential oil and carrier (if used) mixture.
- Shake it Up!: Secure the spray bottle lid tightly and give it a good shake for about 30 seconds. This ensures all the ingredients are well combined and properly dispersed.
- Label Love: Using a pen or label maker, create a label for your spray bottle. Include the ingredients list and the date of creation. This helps you keep track of the age of your spray and identify any potential sensitivities.
Optional Touches:
- A touch of nature: For a decorative flair, you can add a few dried herbs or flowers (like lavender) to the spray bottle. Avoid citrus rinds or other fresh plant materials, as they can spoil and potentially introduce bacteria.
Congratulations! You’ve just created your very own DIY room spray. Now, spritz away & enjoy your custom-crafted fragrance experience! Remember to store your spray in a cool, dark place to maximize its shelf life.
Pro Tips for Your DIY Room Spray Mastery
Now that you’ve embarked on the exciting journey of creating your own room sprays, here are some pro tips to elevate your fragrant experience:
- Less is More: Remember, essential oils are concentrated. When following the recipe, start with fewer drops (around 10) and add more gradually until you achieve the desired scent strength. It’s always easier to add more than to remove!
- Patch Test for Peace of Mind: Before liberally spraying your creation around the room, conduct a patch test. Apply a diluted drop of your spray mixture on a small, inconspicuous area of your skin (like your inner forearm). Wait 24 hours to see if any irritation occurs. If all is clear, you can enjoy your spray with confidence.
- Label Love: Don’t underestimate the power of a good label. Label your spray bottle with the ingredients list and the date of creation. This helps you keep track of what’s in your spray and identify any potential sensitivities you might have. Knowing the creation date also allows you to monitor the shelf life of your fragrant friend.
- Recycled Glass Misters: Feeling eco-conscious? You can also use recycled glass misters for your DIY room sprays. Just ensure they are thoroughly cleaned and disinfected before use to avoid any contamination. Opt for hot soapy water and rinsing, followed by complete drying before adding your fragrant concoction.
Yes, by following these pro tips, you can ensure your DIY room spray journey is not only creative and fun but also safe and effective. Now get out there, experiment with different essential oil combinations, and create a signature scent that reflects your unique style and preferences! Remember, your home is your haven, and it deserves a fragrance that complements your well-being and brings a smile to your face every time you take a breath. Happy spraying!
Essential Oil Room spray Conclusion
So ditch the harsh chemicals and artificial scents! DIY essential oil room sprays offer a safe, customizable, & natural way to elevate the fragrance of your home. These fragrant concoctions allow you to:
- Craft a Signature Scent: Experiment with various essential oil combinations to create a unique and personalized aroma that reflects your mood and style.
- Embrace Aromatherapy: Essential oils boast a wide range of therapeutic properties. From the calming lavender to the invigorating lemongrass, you can choose oils that promote relaxation, focus, or a sense of well-being.
- Enjoy a Natural Alternative: Free from harsh chemicals and artificial fragrances, DIY room sprays are a gentler and healthier option for scenting your living space.
Remember, safety is paramount when using essential oil room spray. Always start with a low dilution and perform patch tests. Keep essential oils out of reach of children and pets.
With a little creativity and these helpful tips, you’re well on your way to becoming a DIY room spray alchemist! So, unleash your inner perfumer, explore the world of essential oils, and craft the perfect fragrant symphony for your home. Happy spraying!