Last Updated on December 24, 2025 by Wahid
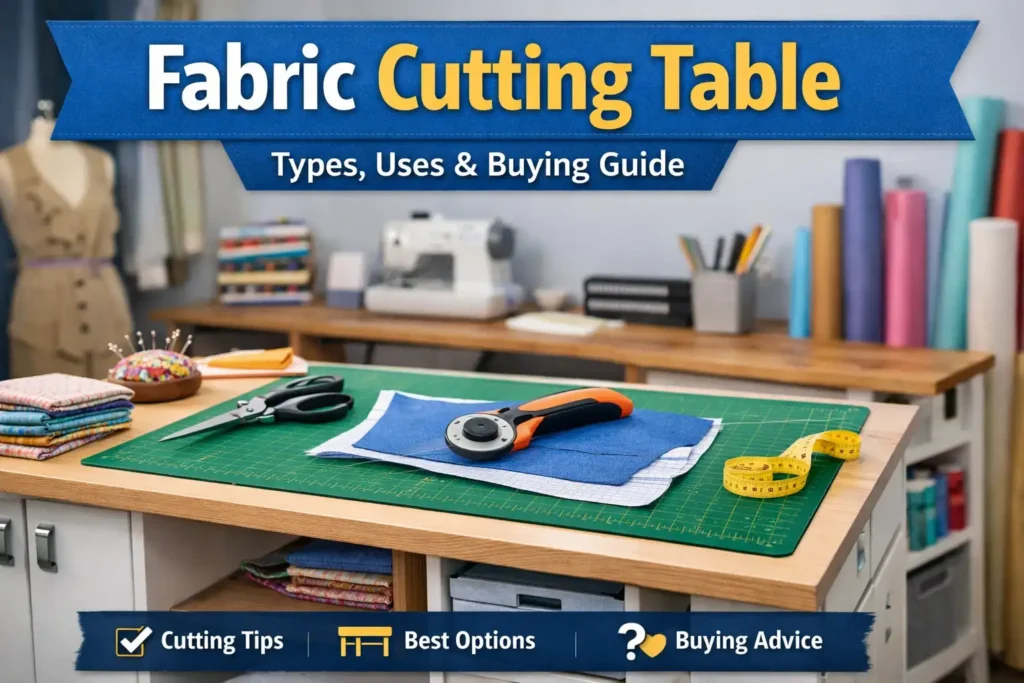
A fabric cutting table is a dedicated, flat work surface designed to support accurate fabric cutting using rotary cutters, straight blades, or shears. Unlike floors, beds, or dining tables, it keeps fabric fully supported, aligned, and stable during single-layer and multi-layer cuts.
According to rotary cutter and cutting-mat manufacturer guidelines, rigid cutting surfaces reduce blade drag, fabric shifting, and uneven edges during long or repeated cuts.
I learned this the hard way after ruining fabric grain on a soft dining table. Once I switched to a proper cutting table, cutting accuracy and speed improved immediately.
If you cut fabric more than occasionally, the right table saves fabric, time, and physical strain.
What Is a Fabric Cutting Table?
A fabric cutting table is built to remain flat under downward pressure while allowing fabric to stay square and fully supported. It is designed to work with self-healing cutting mats and cutting tools without surface flex.
Key characteristics of a real cutting table:
- Flat, rigid surface that does not bow under pressure
- Correct working height to reduce back and wrist strain
- Compatibility with self-healing cutting mats
- Enough surface area to lay fabric flat without dragging
A cutting table directly affects cut precision, pattern alignment, and fabric waste. This matters most when working with slippery synthetics, knits, or layered materials.
How a Fabric Cutting Table Differs From Regular Surfaces
Many people cut fabric on floors, beds, or dining tables. These surfaces create hidden problems.
| Surface | Primary Issue | Cutting Impact |
|---|---|---|
| Floor | Poor posture | Inaccurate cuts, back strain |
| Dining table | Too low, uneven joins | Blade skipping, pattern drift |
| Bed/sofa | Soft surface | Distorted cuts, fabric stretch |
| Cutting table | Rigid and ergonomic | Clean edges, stable grain |
Uneven or soft surfaces also shorten blade life and increase hand pressure, raising slip risk.
Types of Fabric Cutting Tables
Craft Cutting Tables
Designed for small spaces and light projects. Many fold or include storage.
- Best for quilting and light crafts
- Not suitable for high-ply cutting
- Must lock completely flat
Commercial Fabric Cutting Tables
Built for daily use and large fabric volumes.
- Strong center-span support
- High weight capacity
- Ideal for boutiques and production setups
Folding Cutting Tables
Good for limited space if frame rigidity is strong.
- Avoid flexing frames
- Unsuitable for layered upholstery cuts
Pattern-Making Tables
Used for drafting, marking, and layout.
- Large flat surface
- Focus on accuracy, not portability
Upholstery & High-Ply Cutting Tables
Built for cutting multiple fabric layers at once.
- Requires high rigidity
- Minimum 200 lb weight capacity
- Prevents layer drift under downward force
Fabric Cutting Tables by Use Case
Home Sewing & Quilting
- MDF or laminate surface
- Self-healing cutting mat
- Adjustable or correct standing height
Craft Rooms & Small Spaces
- Folding table with locking joints
- Lightweight but rigid frame
Boutiques & Tailoring Shops
- Commercial cutting table
- Wide surface for full-width fabric
- Strong center support
Furniture & Upholstery
- High-ply cutting table
- Reinforced legs and frame
- Designed to resist downward force
Pattern Drafting
- Extra-wide table
- Flat surface for marking and measuring
Surface Materials: What Works and What Doesn’t
| Surface Material | Pros | Risks |
|---|---|---|
| MDF | Stable, affordable | Needs mat protection |
| Laminate | Smooth, durable | Blade damage without mat |
| Metal | Strong | Static electricity risk |
| Glass | Flat | Dulls blades instantly |
Important:
Metal surfaces create static electricity when cutting polyester or silk. This causes fabric cling and misalignment unless a cutting mat is used.
Ergonomic Height Rule (Critical)
The correct cutting table height is 2–4 inches below your elbow height when standing.
This elbow-height formula:
- Reduces wrist fatigue
- Prevents shoulder strain
- Improves cutting accuracy
Pro Tip:
If your table is too low, heavy-duty bed risers can temporarily correct height.
Buying Guide: How to Choose the Right Fabric Cutting Table
1. Surface Rigidity
Any flex causes inaccurate cuts. Press down on the center before buying.
2. Table Size
Choose a table at least 5 inches wider than your widest fabric roll to prevent edge drag and grain distortion.
3. Weight Capacity
For high-ply cutting, minimum 200 lbs capacity is recommended.
4. Surface Compatibility
Always use a self-healing cutting mat. Bare surfaces damage blades and fabric.
5. Used vs New Decision Logic
Used tables work only if:
- Surface is perfectly flat
- No joint looseness
- No center sag
For layered cutting, structural fatigue makes used tables risky.
Common Mistakes to Avoid
Mistake 1: Cutting on Soft Surfaces
Soft surfaces cause fiber stretch and pattern drift.
Mistake 2: Ignoring Static Electricity
Metal tables without mats cause synthetic fabric cling and misalignment.
Mistake 3: Wrong Table Height
Too low strains wrists. Too high reduces blade control.
Mistake 4: Using Folding Tables for High-Ply Cutting
Frame flex causes layer drift and uneven edges.
Mistake 5: Skipping Center Support
Long tables without center support sag over time.
Best Fabric Cutting Tables by Category
Best for Home Sewing
- Rigid MDF surface
- Medium size
- Compatible with rotary cutters
Best for Small Spaces
- Locking folding table
- Lightweight but flat
Best for Boutiques
- Commercial cutting table
- Full-width support
Best for Upholstery
- High-ply cutting table
- Reinforced frame
- 200+ lb weight rating
Frequently Asked Questions (FAQs)
What is the best surface for a fabric cutting table?
A rigid MDF or laminate surface with a self-healing cutting mat provides the best balance of stability and blade protection.
Can I use a dining table for fabric cutting?
Occasionally, yes. Regularly, no. Dining tables are too low and often uneven, causing inaccurate cuts.
Is a folding cutting table safe for quilting?
Yes, if it locks flat and does not flex. Avoid layered cutting on folding frames.
Do I need a cutting table for rotary cutters?
Yes. Rotary cutters require flat, rigid surfaces to avoid blade skips and fabric drag.
What height should a cutting table be?
The surface should sit 2–4 inches below elbow height when standing.
Is a used cutting table worth buying?
Only if it is flat, rigid, and free of joint looseness. Avoid used tables for high-ply cutting.
Final Verdict
A fabric cutting table is not just furniture. It directly controls cut accuracy, fabric safety, and physical comfort.
Choose based on how often you cut, what fabrics you use, and whether you cut multiple layers. When cutting is frequent, the right table pays for itself through reduced waste and fewer mistakes.