Last Updated on December 13, 2025 by Wahid
Putting photographs, pictures, or any other image on fabric is a fabric lover’s dream. Personalized items are always a hit, aren’t they? Thus, when your desired fabrics are printed with photographs you love, it’s like heaven on earth.
Plus, who doesn’t like saving money on new items? Whether it’s pillows, tablecloths, or clothes, creating your own brand is fun. Additionally, it would make a wonderful gift. The question is, how to print images on fabric without transfer paper? Basically, you can transfer photos onto fabric in a straightforward manner. Also, you might find this method interesting. The method is easy to follow even for beginners.
Do not fret, high-quality prints are possible without exceptional items. In this article, I will demonstrate the 6 best methods and a few tricks you can use to complete the trick.
6 Methods “How To Print Images On Fabric Without Transfer Paper”
In most cases, these methods require you to transfer the image from the fabric to the fabric, requiring you to create a mirror image. Using Photoshop, you can reverse your images (create mirror images) as well as add text, graphics, etc. then print them out.
Method 1: Using “Photo Transfer Paper”
Probably you’ve seen this done before, so it should feel comfortable to you. Get some photographic transfer paper, run it through a printer, then iron it onto your T-shirt or similar fabric. To make my photo, I chose a real record and the background was white.
[amazon box=”B008BTPQT2″ description=”none”]
Follow These Steps Below
Step 1: Pick Up Your Paper
Be sure to purchase the appropriate paper your printer requires (ink-jet or laser jet). There are also transfer papers that are specifically formulated according to the fabric type (dark or light). Also, make sure you read the instructions before buying, to ensure you are buying the right fabric.
Step 2: Print & Trim
You must reverse the image with computer software if it has text – otherwise, the image will be reversed. Once the image is printed, place the transfer paper on the correct side, determining the correct orientation first using a test sheet. Around 1/4″ from the edge, trim the image with a rotary cutter or scissors.
Step 3: Apply Iron To It
The best way to do this is to place the pillowcase on a hard surface and avoid ironing boards. You should smooth out all wrinkles, and then place the transfer paper right-side up on the fabric. To prevent bleeding, use a dry, hot iron. Refer to your paper’s manufacturer’s instructions if you’re feeling nervous at all.
Step 4: Peel Away
Take a smooth motion to peel off your backing paper, then you’re ready to go.
Method 2: Using “Freezer Paper”
Using this method, you can run an 8 ½ inch x 11 inch fabric piece over your printer & have the image printed directly on it. The fabric is fused to freezer paper for extra stiffness to achieve this.
[amazon box=”B088QD789P” description=”none”]
Actually, laserjet printers provide the best results. You can use an inkjet printer, vinegar, or fabric made for printing that’s been treated for printing. To get the best results, test a piece before trying the real thing.
Follow These Steps Below
Step 1: Prepare Your Materials
Using freezer paper, cut a rectangle that is larger than what you would use for printing. Use freezer paper instead of wax paper, because freezer paper only has one waxy side. An 8 1/2 inch x 11 inch piece of cardstock can be used both for trimming freezer paper & fabric. Here, precision is key.
Step 2: Iron Them Together
Using freezer paper, press it to the fabric’s back using the waxy side.
Step 3: Make A Fabric Print
To achieve the best results, change the print settings to “Photo”. You can print out a test page to be sure you have the right orientation. Print on the cloth side of your fabric by running it through the machine.
Method 3: Using “Gel Medium”
As the best magical method, right now I’ve saved it for you. When I was a kid, I saved lots of postcards and souvenirs from family vacations, wondering if they could be used on fabric. The gel medium comes to the relief.
Supplies You’ll Require:
- Liquitex Gel Medium
- Cotton-blend, solid linen, or canvas fabric that does not stretch
- Paint brush
- Water-filled spray bottle
- Images printed with dry toner (reversed if they contain text). Magazine pictures can be cut out, printed on a laser printer at home, or scanned and copied.
Follow These Steps Below
Step 1: Print Out Your Image
Copy a postcard, a magazine image, a photograph, or something similar. My first Broadway playbill booklet served as my guide. In the case of images with text, use a photocopier or computer program to flip them first.
Step 2: Apply A Coating
Make sure that you have applied a thick coating of Liquitex Gel Medium over the image you are printing.
Step 3: Attach To Fabric By Pressing
Smooth out all wrinkles on the fabric by pressing the image the right way up. It might also be helpful to weigh it down with a heavy object overnight to let it dry.
Step 4: Soak & Rub
Once it’s dry, spray water on the image and soak it, or dampen a rag with water. Working from the center out, rub the back of the paper with your fingers gently. Be careful here, too much rubbing will damage the image.
Step 5: Soak & Rub Again
After you’ve removed most of the paper, repeat the process with water. Afterward, rub gently, paying particular attention to the areas with dark prints.
Step 6: Thoroughly Rinse
Water should be run over the fabric at the sink in order to remove any paper crumbs that remain.
Step 7: Allow It To Dry
Lay the fabric flat in the sun or hang it to dry. When washing the fabric, another gel medium layer can be applied over the finished artwork to increase its durability.
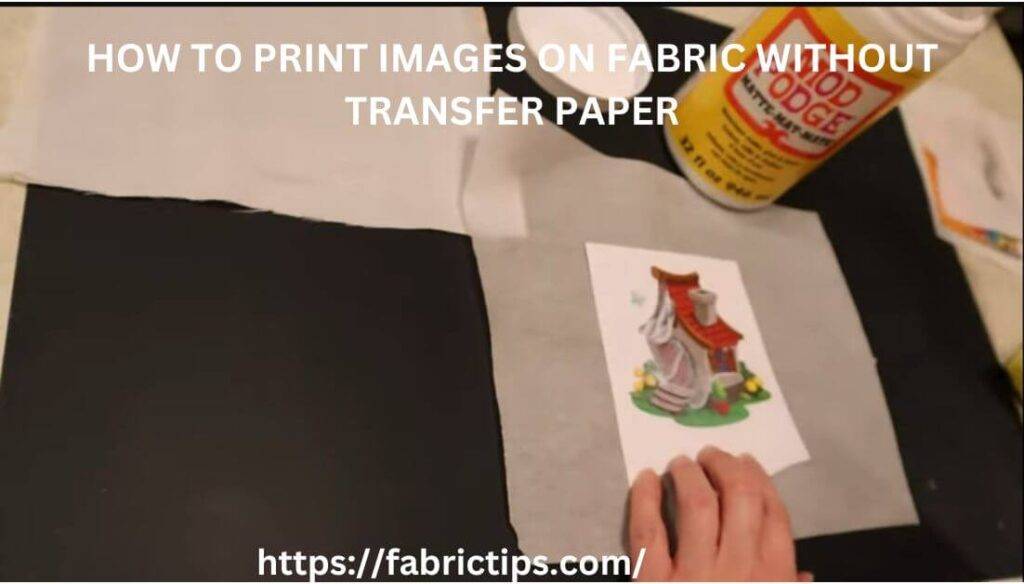
Experts Tips: With either inkjet or laser-jet printed images, you can apply for Mod Podge Photo Transfer. When the toner is dry, the printer should function. Check your printer’s compatibility by printing a small square. So, all are here on how to transfer images to fabric without transfer paper easily.
Method 4: Using “Heat Transfer”
Here’s another way you can convert your artistic talent into art. You probably have the materials available in your home, so there is no need to worry about costs.
Supplies You’ll Require:
- Fabric & printed photo
- Paintbrush
- Tape
- Spoon
- Lavender oil
- Flat iron (You can use Conair 2-in-1 Handheld Steamer and Iron)
[amazon box=”B0935BS6DZ” description=”none”]
Follow These Steps Below
Step 1: First, Iron The Material
You can wipe away excess oil by putting some extra paper beneath. Additionally, it eliminates wrinkles and crumples.
Step 2: Application Of Tape
Make sure your fabric is held in place with tape. After that, attach the design with tape.
Step 3: Adding Lavender Oil
Lavender oil should be added in a small amount. Using a paintbrush, apply the paint evenly across the picture. Ensure that there is no damp patch. Spend 1 to 3 minutes letting it sit.
Step 4: Begin Uploading The Picture
The picture should be transferred by spooning it onto the paper. Ensure that you receive all parts of the image by pressing on it. When you’re satisfied with the results, carefully lift them.
Step 5: Get Your Iron Out
You need to heat up an iron to the highest setting and put the item underneath when it’s hot. Let it cool completely before handling it.
Step 6: Fabric Should Be Washed
Finally, use your washing machine to wash the fabric. You should set the temperature to 40 degrees Celsius. You should wait at least 24 hours after washing your fabric before you filter it. It is best to turn inside out of shirts, pillowcases, bags, and similar materials.
Experts Tips: Make your artwork with an image editing program. Images with pictures or text need it specifically, even if you want a mirror image of the original. As an example, if selecting a shirt, choose one with light colors for dark patterns. Conversely, light-colored shirts look amazing with vibrant, dark colors. Additionally, prewash the shirt before taking the transfer picture to fabric to prevent it from wrinkling.
Method 5: “Sun Printing” Or “Light Source”
In terms of cost and simplicity, this is probably the best method. According to its name, the image will be printed on a fabric that receives sunlight.
Supplies You’ll Require:
- Fabric
- Light source
- Tape
- Thin marking pen
Follow These Steps Below
Step 1: Print The Transparency Sheet
Printing on transparent paper is possible with inkjet paper. You will need a negative version of the image you want to put on your fabric. After printing the image, scale it to the desired size using the inkjet printer.
[amazon box=”B01HGD8R5S” description=”none”]
Step 2: Apply To Fabric & Press
Placing the paper on the fabric makes it easier for the sun to print on it. Before pressing, make sure your size & alignment are correct. It is necessary to secure the paper against the fabric with a glass protector without blocking UV light. You can use any heavy material that doesn’t block UV light.
The object must allow sunlight to get through and touch the fabric in order to print well. For best results, place outdoors under direct sunlight.
Step 3: Sit Back & Relax
You can see the outcome using a glass weighing device, and you’ll know what to expect. If you cannot see through an object, your prints will appear about 15 to 20 minutes after printing on sun-printed fabric. It doesn’t take long to wait. As soon as an image appears on your clothes, you are ready to wear them.
Experts Tips: What if it’s cloudy? In this case, the method is also effective. However, you might want to spend twice your time in direct sunlight. It usually takes around thirty minutes or so. Sun printing is a favorite among newbies for creating a vintage piece. Ink lines frayed everywhere create an amazing printed texture. It’s ideal for experimenting with various designs, such as purses, pillows, shirts, & even pockets. Be sure to wash out extra inks by washing the finished designs under warm water.
Method 6: Using “Plastic Wrap”
When it comes to printing on shirts quickly, using plastic wrap is a great hack. It may sound crazy, but it actually works. Possibly not the best highest quality, & it might rub off when washed. Nevertheless, if you don’t have any other options, it’s a great tip.
Supplies You’ll Require:
- Sharp Scissors
- A clean shirt or fabric
- Iron
- Parchment paper
- A printed-out graphic
- Plastic wrap
Follow These Steps Below
Step 1: Print Out Your Design
Make your own design on paper & print it. Then, make sure you get the right size. The print will not be visible if it is too small. Also, if the image is too big, the shirt or fabric won’t fit it.
Step 2: Using The Graphic, Cut It Out
You will have to cut your fabric design first. It is best to use scissors with a sharp blade for this task. In addition, you can cut with a paper cutter if the design has straight lines.
Step 3: Cover With Plastic Wrap
Once the cutout creation is ready, cover it with plastic wrap. Don’t forget to cover all edges. Make sure the corners are wrapped and folded backward to keep water from leaking.
Step 4: Place Parchment Paper & Design
Make sure the paper is positioned on your cloth. Put it in the exact location and center that you want. Once the cutout is ready, place parchment paper on top.
Step 5: Iron & You’re Done
Place parchment paper over the iron and begin ironing. The plastic wrap will not melt or stick to your iron when covered with parchment paper. In high temperatures, cloth melts into plastic wrap.
After you feel that the plastic wrap is completely melted, ensure that the print is clear by removing the iron. When the plastic cannot be scratched off over the fabric, you have successfully printed it. You can now wear your clothing. When washing, be careful to keep the plastic on the clothing.
Best Ideas For Transferring Photos To Fabric: Let’s See
Whether you want to create personalized fabric for an event, make clothing with your own images, or create cute mementos for birthdays or holidays, your own images can be used in various ways. Among my favorite ideas for how to print images on fabric without transfer paper are:
- A picture can be transferred to a fabric tote bag.
- Fabric can be printed with pictures for quilting.
- Image transfer for embroidery on fabric.
- Put photos on jeans using a photo transfer.
- T-shirt transfer with a picture.
- Transform a photo onto canvas for a vintage look.
- Print pictures on fabric pillowcases.
- Get your family and friends custom t-shirts.
FAQs
What Can Be Used Instead of a Transfer Paper?
The possibilities are endless. A simple method, such as light printing or heat transfer, can be used to transfer photos to fabric. Gel mediums are also excellent. Permanent transfers are achieved with the help of commercial solvents, such as turpentine or acetone. For less work, consider laser or inkjet printing. Use any of them to print your photos directly on fabric.
Can You Use a Regular Printer to Transfer Paper?
Transfer paper can be used with a variety of printers, not just regular printers. Yet, Brother MFC-J6955DW INKvestment Tank Color Inkjet are popular. They are also versatile and inexpensive. Also, they can accommodate all types of paper & printing jobs. All laser printers provide similar results, although not any models do. For details, consult your manual.
[amazon box=”B00F37ZTV0″ description=”none”]
What Fabric Can You Use for Transferring Photos?
A cotton fabric is recommended, but you can use any fabric. Generally, natural and light-colored garments are preferred. Printing photos on fabric sheets ensures they will stay colorfast and washable. Before handling anything, make sure your hands are properly cleaned. By doing so, you will prevent dirt and oil stains from the fabric.
[amazon box=”B06W55D3VR” description=”none”]
What is the easiest way to transfer photos onto fabric?
Using transfer gel is the simplest method. Firstly, print the picture using a laser printer on regular paper. Put the transfer gel on the canvas and face it down. Once it is dry, rub your fingers over the paper to remove the moisture.
How do you transfer digital art onto fabric?
Transfer paper can be printed from a computer and an InkJet printer. Fabric or clothing can then be ironed or heat pressed. InkJet Transfer paper comes in light & dark colors. Photo or artwork can be directly printed on fabric.
Can you print fabric from a photo?
You don’t have to limit fabric printing to fashionable designs. The possibilities are endless when it comes to designing something special, such as printing your own photographs onto fabrics. Use them to make something, whatever you like, from clothing to bedding to upholstery.
Can you glue a photo to the fabric?
On the fabric, lay the picture side down as desired. With a squeegee, remove any bubbles caused by glue and remove any medium above the paper. Dry the glue & paper for about 24 hours.
Can you use tape instead of transfer paper?
Thankfully, transfer tapes can be used instead of paper so that the project can proceed smoothly.
Can you Use Regular paper to iron a Shirt?
Ironing a shirt with regular paper is not a good idea and shouldn’t be used for transferring pictures. It is definitely necessary to use transfer paper or a special paper capable of withstanding high temperatures. Otherwise, either the paper or the cloth will melt & stick to it. Ultimately, this will lead to increased work and bitter experience. Therefore, heat-resistant transfer papers should be used to transfer photos to clothes.
Can I Iron on Tin Foil?
While ironing is quite a time-consuming task, it can also be a problem in a rushed environment. However, you can fasten your ironing speed in several ways. To do this, line the surface with tin foil, aluminum foil, or other suitable materials. The board absorbs warmth and moisture instead of absorbing it when you iron it. Your ironing board cover traps heat & moisture as well. Consequently, the iron will heat up faster and reduce ironing time.
[amazon box=”B07FJ43JY9″ description=”none”]
Final Thoughts
Now that you know how to print images on fabric without transfer paper, it’s easy to print clothing at home. The options are numerous, as you can see. It is now quite easy to print any design on fabric.
Using the correct method for your fabric, you will get the right prints without destroying your clothes. Even so, not every transfer goes as planned. Here, practice is key. Eventually, you’ll reach the level of others, let’s hope. Don’t miss out on the fun of transferring for now.
The technique of transferring an image onto fabric without transfer paper was very fun this week. I hope you enjoyed it. I wish you success with your fabric coloring project, and I would be happy to answer any questions you may have.